Stick, Stack, Transform: Instantly Refresh Your Furniture

Today we’re diving into furniture makeovers with peel-and-stick films and stackable solutions, showing how renters, makers, and busy families can transform pieces in hours instead of weeks. You’ll get clear steps, realistic budgets, and surprising tricks that protect walls and wood. Bring an old dresser, a cluttered shelf, or a tired nightstand, and leave with confidence to stick, stack, and celebrate practical beauty that can move with you.

Start Smart: Tools, Surfaces, and Safety

A great result begins long before the first backing paper peels away. Set yourself up with the right tools, prep your surfaces thoroughly, and plan for stability when stacking. This approach turns quick weekend projects into durable upgrades, keeps frustration low, and ensures everything looks intentional. If you are new, follow this guide, and share your questions or wins so others can learn from your journey and improve their spaces too.

01

The Essential Toolkit

Gather a sharp utility knife with snap-off blades, a felt-edge squeegee, measuring tape, a soft pencil, a heat gun or hairdryer, and microfiber cloths. Add painter’s tape to hold alignment, a small corner roller for edges, and gentle degreaser. For stackable assemblies, keep a rubber mallet, level, wall anchors, and anti-tip straps nearby. With these on hand, you will work cleaner, faster, and with confidence, even in small apartments.

02

Surface Prep That Really Matters

Clean surfaces with mild degreaser, then wipe with isopropyl alcohol to remove residue. Lightly sand glossy finishes and vacuum dust before a final wipe. Seal raw edges on particleboard or MDF to prevent moisture and bubbling. Let everything dry fully, then test a small swatch. Adhesives bond best to smooth, clean, fully cured finishes. Give newly painted pieces proper cure time, and allow applied films a day to settle before heavy use.

03

Choosing Materials With Intention

Select films suited to furniture, favoring durable vinyl or textured options that hide small imperfections. Matte finishes mute glare, while woodgrain textures add surprising realism. Thicker films resist scuffs but need heat for curves. For stackable storage, compare weight ratings, interlocking features, and materials like bamboo, powder-coated steel, or reinforced plastic. Seek low-odor adhesives and trusted brands. Order samples to test color shifts in your room’s natural and evening light.

Palette and Pattern Strategy

Your choices determine whether a quick update feels custom-built or temporary. Start with a simple palette, then add character with pattern accents or contrasting textures. Plan where eyes should land, and how each piece supports daily routines. A clear strategy saves money, reduces waste, and helps you avoid trends that age quickly. Share swatches and mockups with friends or our community to get feedback before you commit scissors and time.

Flawless Application and Assembly

With a few practiced moves, you can banish bubbles, nail clean corners, and lock stacking systems safely. Go slow, use consistent pressure, and pause whenever things drift. A hinge method, light heat, and relief cuts handle tricky shapes gracefully. When stacking, level every layer, check square, and anchor thoughtfully. These repeatable techniques keep projects predictable, even when working alone late at night with limited space and a sleepy household nearby.
Tape the panel as a hinge, peel a small section, and squeegee from the center outward in overlapping strokes. Keep the film slightly tensioned, not stretched. If bubbles appear, lift gently and reapply, or prick tiny ones with a pin. Warm stubborn areas lightly to relax vinyl. Use a felt-edge squeegee to protect finishes. This calm, methodical approach makes large surfaces manageable, creating clean reflections and edges that impress at any angle.
Round outside corners with heat, working slowly so vinyl conforms rather than creases. For inside corners, add small relief cuts, then overlap neatly where shadows hide the seam. Around handles or outlets, pilot-cut smaller than needed, warm the film, and trim precisely after seating. Always finish by rolling edges firmly. These quiet details endure daily use, keep dust out of seams, and make old furniture feel convincingly new to the touch.
Dry-fit every layer, check for wobble, and level side to side and front to back. Use manufacturer connectors or brackets, then add anti-tip straps into studs or high-quality anchors. Distribute heavy items low and centered. Felt pads protect floors, while adhesive cable clips tame cords. Label hidden faces for easy reconfiguration later. Once locked and anchored, the system feels solid, looks intentional, and safely supports everyday life without unexpected shifts or rattles.

Rooms that Changed Overnight

Rental Dresser Rescue

A scuffed thrifted dresser got soft matte film in warm oak, with satin black hardware and linen-lined drawers. The renter worked after dinner, one drawer at a time, finishing in two evenings. A matching stackable cube became a nightstand extension for books. Total cost beat buying new, and the landlord loved the removable approach. Months later, edges still look crisp, and the renter reports daily joy from a once-avoided corner.

Studio Storage That Doubles as a Desk

Four stackable cubes formed a sturdy base for a recycled wood top, wrapped in stone-look film to reflect light. Clear bins slide inside for cables, while a cable pass-through keeps the surface clean. Anchored to the wall, the unit feels built-in without drilling the floor. The owner rearranges cubes for project cycles, swapping a printer shelf for a display niche. It’s a compact workstation that adapts faster than deadlines arrive.

Kid’s Room That Grows with Them

Parents wrapped a worn toy cabinet in wipeable film and stacked bright cubes into a friendly reading nook. Low shelves hold picture books today, then migrate upward as the child grows. Labels and color coding make cleanup a game. When tastes changed, film accents were refreshed in an afternoon, transforming rainbows into deep teal and brass pulls. The flexible foundation remains, saving money while keeping the room feeling exciting and personal.

Care, Durability, and Fixes

A few habits protect your hard work. Clean gently, manage heat and moisture, and patch tiny flaws before they spread. Stackables last longer when loads are balanced and anchors checked seasonally. These small rituals preserve edges, luster, and structure, keeping projects impressive a year later. Readers often report that a simple cleaning routine transforms how they feel about their space. Try these tips and tell us what made the biggest difference.

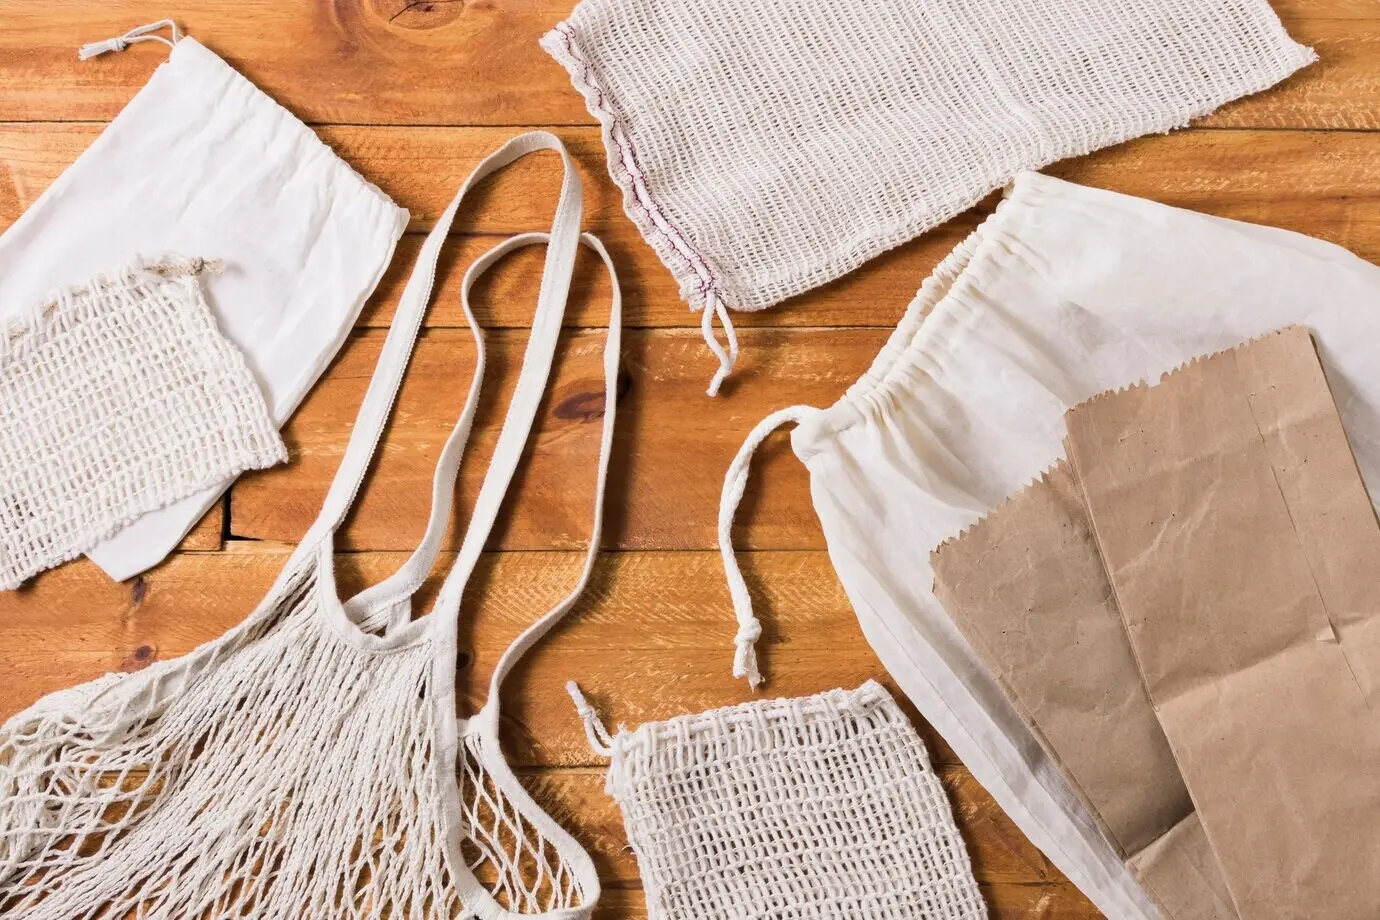
Budget, Sustainability, and Sourcing

Refreshing furniture this way respects both wallet and planet. You reuse frames, buy fewer big items, and generate minimal debris. Smart sourcing means testing samples, comparing adhesives, and reading weight ratings before you commit. Little choices compound into sturdy long-term setups that still feel new. We invite you to comment with favorite suppliers, reliable tools, and cost-saving hacks. Your notes help others invest wisely and reduce waste while creating spaces they genuinely love.
Zerofatatanamaleta
Privacy Overview

This website uses cookies so that we can provide you with the best user experience possible. Cookie information is stored in your browser and performs functions such as recognising you when you return to our website and helping our team to understand which sections of the website you find most interesting and useful.